Development build
Recall that a React Native app consists of two parts:
- the JavaScript bundle (which you build with
npx expo start) - the native app bundle (so far, Expo Go)
Because we've only been able to update the JavaScript part, we are limited to using only the libraries that exist in Expo Go. Admittedly there's quite a lot to get started with, but there will become a time you want to use something that isn't included, such as setting up in-app purchaces, using react-native-vision-camera, analytics with react-native-firebase or in our case, adding a quick action.
And this is where Development Builds come in!
What is a Development Build?
Think of it as your own customizable version of Expo Go with just the native libraries you need installed. So you'll continue building the JavaScript bundle as before, we're just swapping out the native app bundle part and building it ourselves.
What we've done in this workshop is a pretty common workflow when starting a new app: you'll create a new project, do some prototyping, build some UI until you reach a point where Expo Go isn't enough. It makes sense to do this sooner rather than later, certainly before settling into a QA flow if you're building production apps.
Move from Expo Go -> Development Builds
You know how the Expo Go app has a pretty dev menu? It also comes as a package so you could use the same functionality in a development build.
Let's install the expo-dev-client package:
npx expo install expo-dev-client
Now we need to generate our native projects for one or both platforms:
npx expo prebuild --platform ios
npx expo prebuild --platform android
You will get prompted for your app ID the first time you run this.
An app ID is like a URL for your app. The convention is to use a reverse domain name, e.g. if you own example.com you might use com.example.myapp. These app IDs need to be globally unique on the Apple side though you won't know whether the ID you chose is available until you try and create a signing certificate.
Note that once you upload your app to the stores, you won't be able to change the app ID ever.
The npx expo prebuild command handles Continuous Native Generation. The idea is that your native iOS and Android projects are ephemeral - we don't check them into git, but instead generate from scratch based on your installed libraries an the app config.
Make sure you add the ios and android folders to .gitignore so they wouldn't be committed. If you do decide to check your native folders into git or make any changes manually, you'll be opting out of prebuild and using the so-called "bare workflow" - so you'll be at the same state as if you'd created your project with the React Native Community CLI.
Build your native app
At this point, you should should have local environment set up.
Build your native app with:
npx expo run:ios
# or
npx expo run:android
This will build the native app and run it on a locally installed iOS simulator or Android Emulator.
If you get an error saying that an Android emulator could not be launched, launch it manually before running the run:android command. Open Android Studio, from the small 3-dot menu choose "Virtual Device Manager", create the emulator if you haven't yet and launch it.
If this was your first time setting up Xcode, it's possible the simulators haven't been downloaded yet. Open Xcode (cmd + space and type "Xcode") and see if you get a prompt to install simulators. If so, install them.
If that didn't help try opening a simulator first. (cmd + space and type "Simulator").
Struggling to build locally?
If you're struggling to get up your dev env and build locally, you can build your Development Client in the cloud with EAS.
For instructions, refer to this text-based tutorial or video course.
Checkpoint
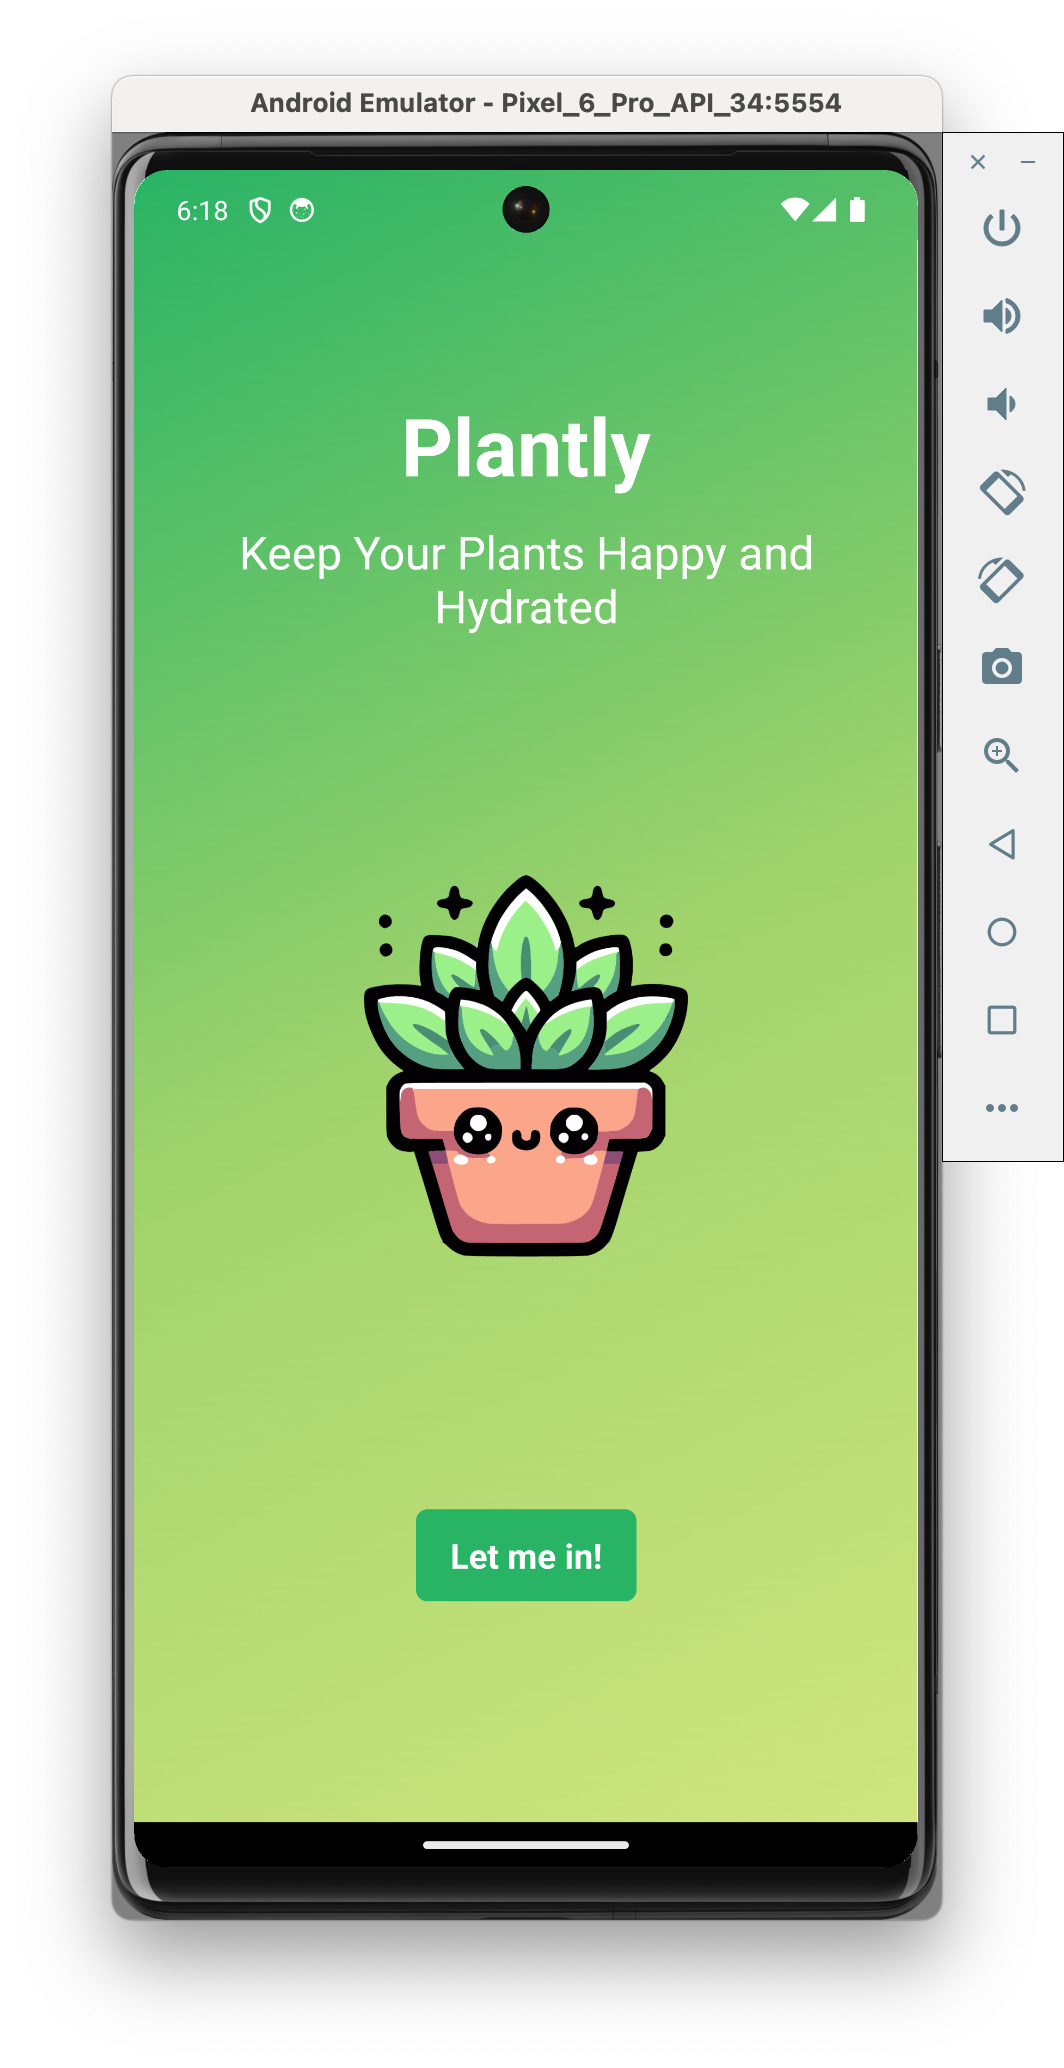
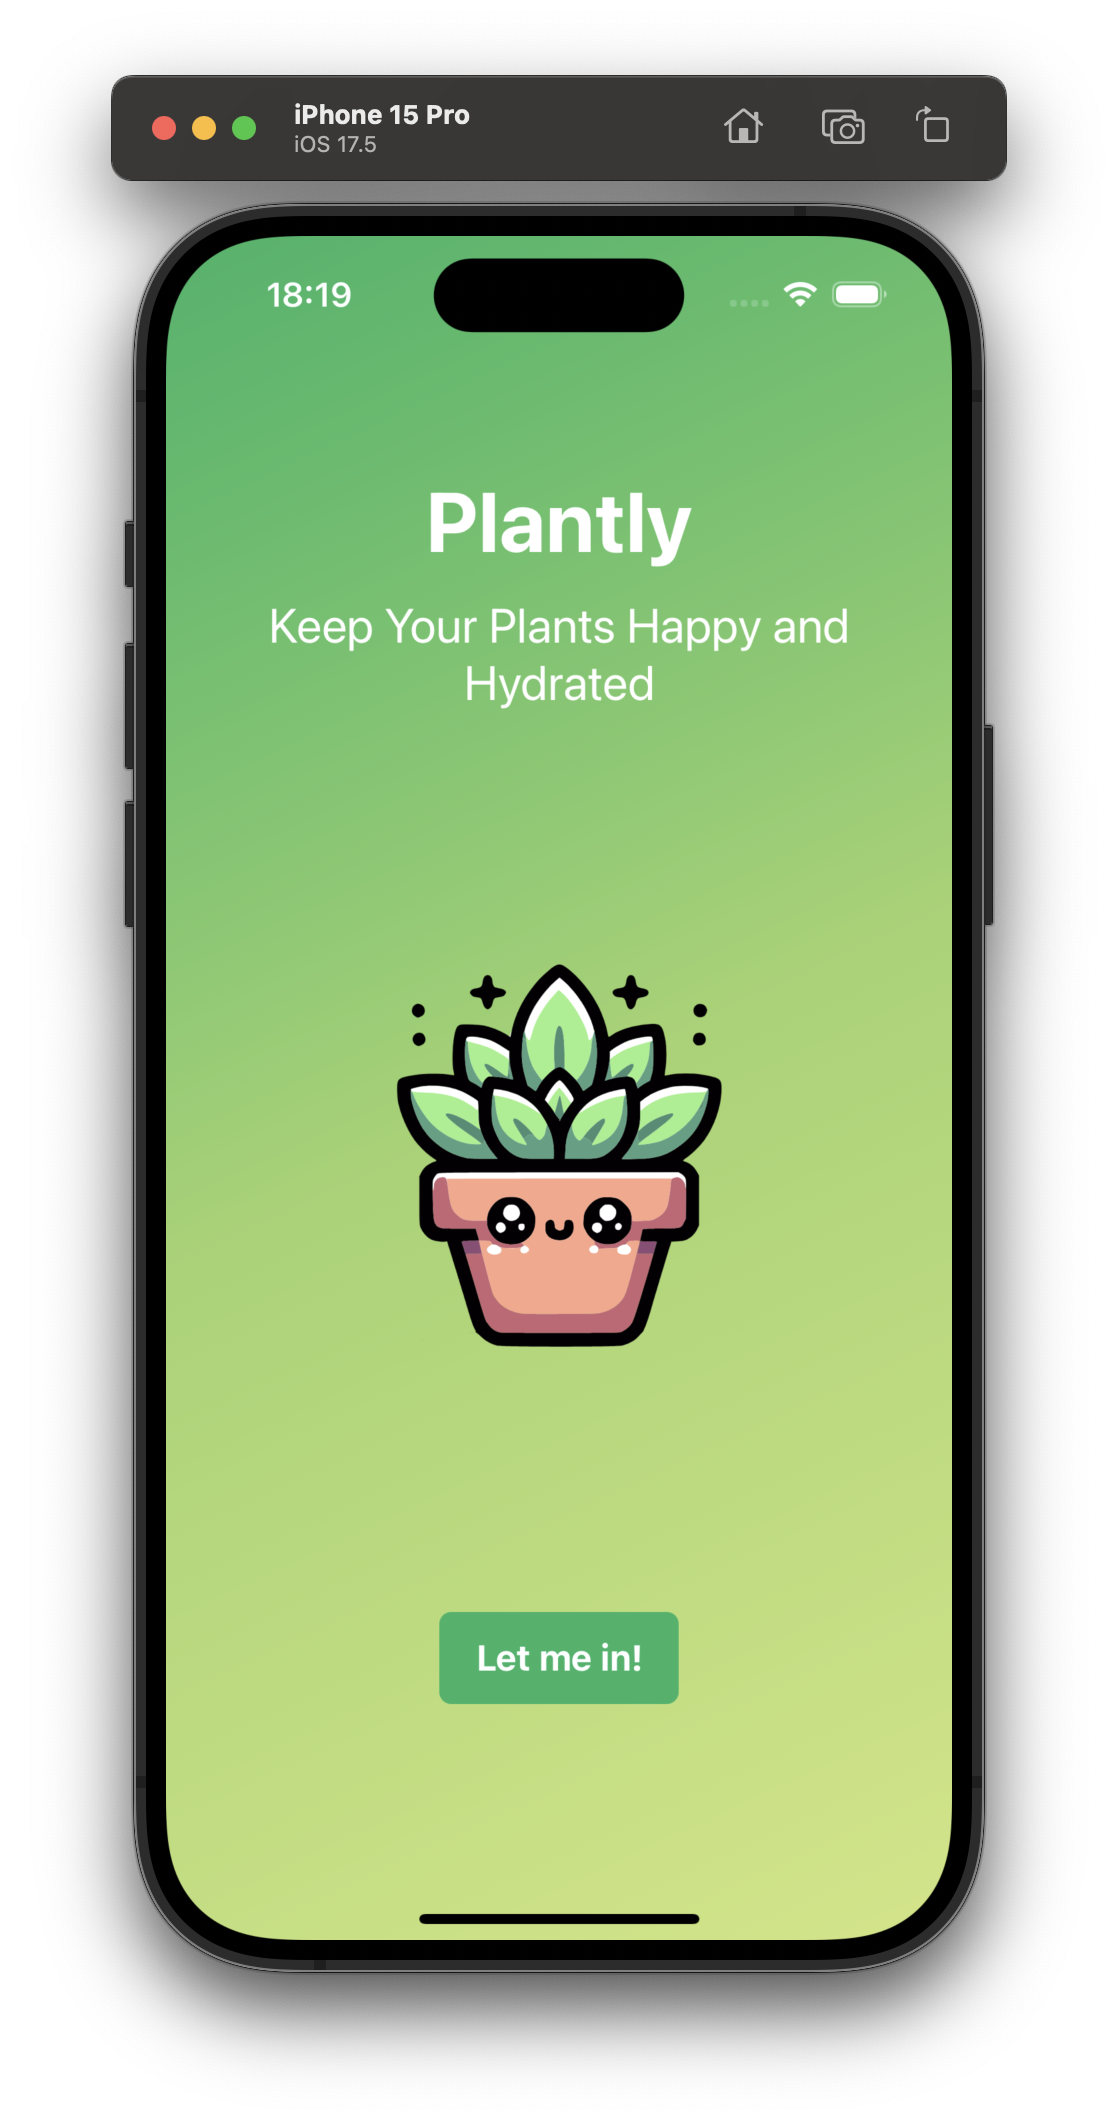
| Android | iOS |
|---|---|
 |  |