Navigation
React Native does not come with navigation out of the box, so in order to add navigation into our app, we'll need to install a navigation library. For this project, we'll be using React Navigation v6.
Install the navigation library#
yarn add @react-navigation/native react-native-screens react-native-safe-area-context @react-navigation/bottom-tabs# ornpm install @react-navigation/native react-native-screens react-native-safe-area-context @react-navigation/bottom-tabsAndroid Only - additional native code#
The react-native-screens package requires one additional configuration step to properly work on Android devices. Edit MainActivity.java file which is located in android/app/src/main/java/moodtracker/MainActivity.java
Add the following code to the body of MainActivity class:
@Overrideprotected void onCreate(Bundle savedInstanceState) { super.onCreate(null);}and make sure to add an import statement at the top of this file:
import android.os.Bundle;iOS Only - install dependencies#
Since this library includes native code, we'll also need to install the native dependencies:
cd ios && pod install && cd ..Finally, rebuild your iOS or android app from the terminal / Xcode / Android Studio.
Cleanup#
We're mostly going to use the TypeScript template as is, but there are two small fixes I'll do:
- remove the
__tests__folder (we don't be covering testing in this course, but even if we were, placing your test files next to your components is preferrable) - in
.prettierrc.js, setbracketSpacing: true,- this is a personal preference - in
tsconfig.json, set"skipLibCheck": false,- this prevents thetsccommand from checkingnode_modules
Update project structure#
If you completed the into React Native course, then you should already be familiar with the Stack Navigator. In this project, we want to use tab-based navigation, so we're going to use the Bottom Tab Navigator instead. We already installed @react-navigation/bottom-tabs in the install step above, so we can already use it in our project.
First, let's create a new src directory at the root of your project. This is where all our code is going to live.
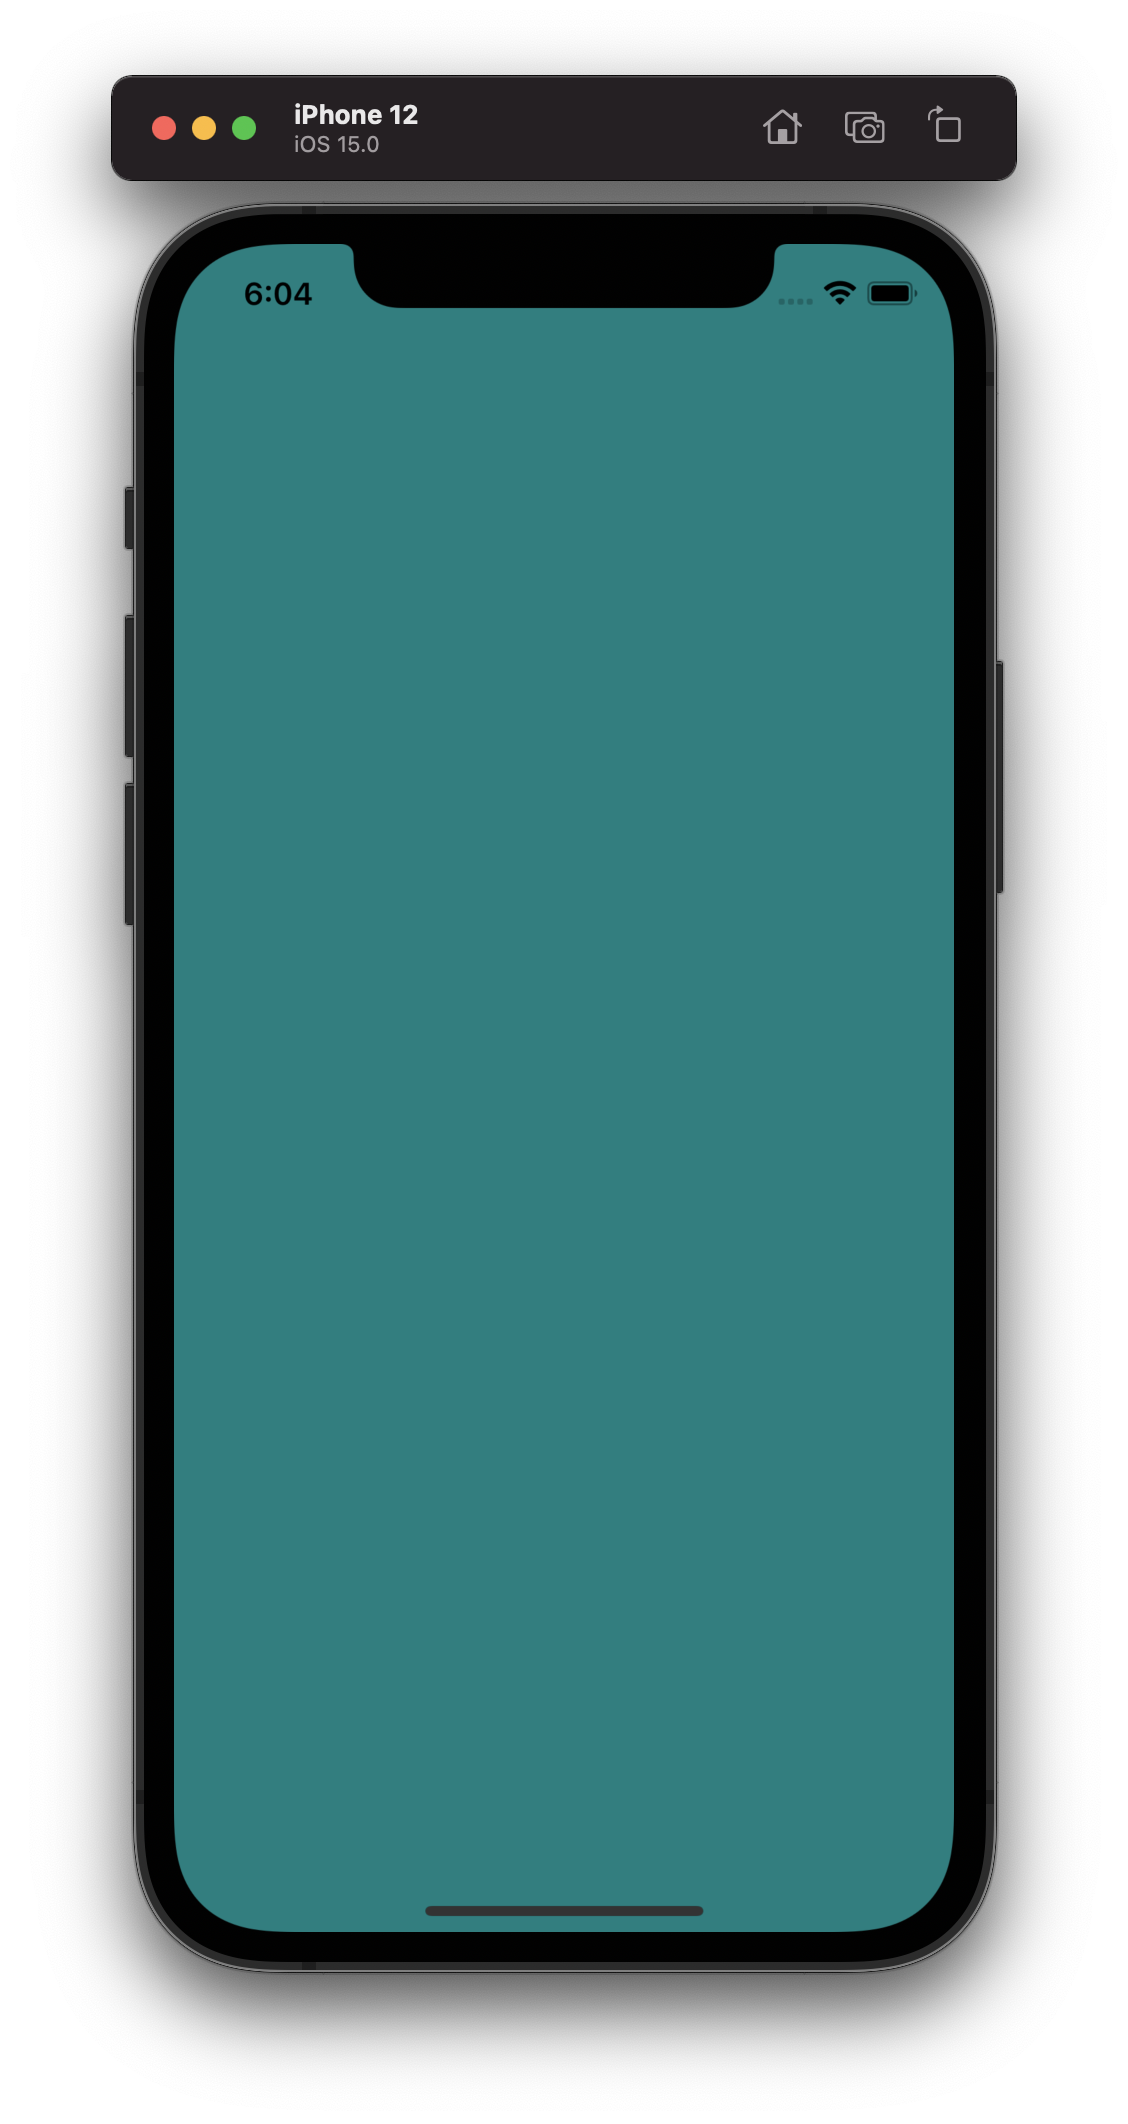
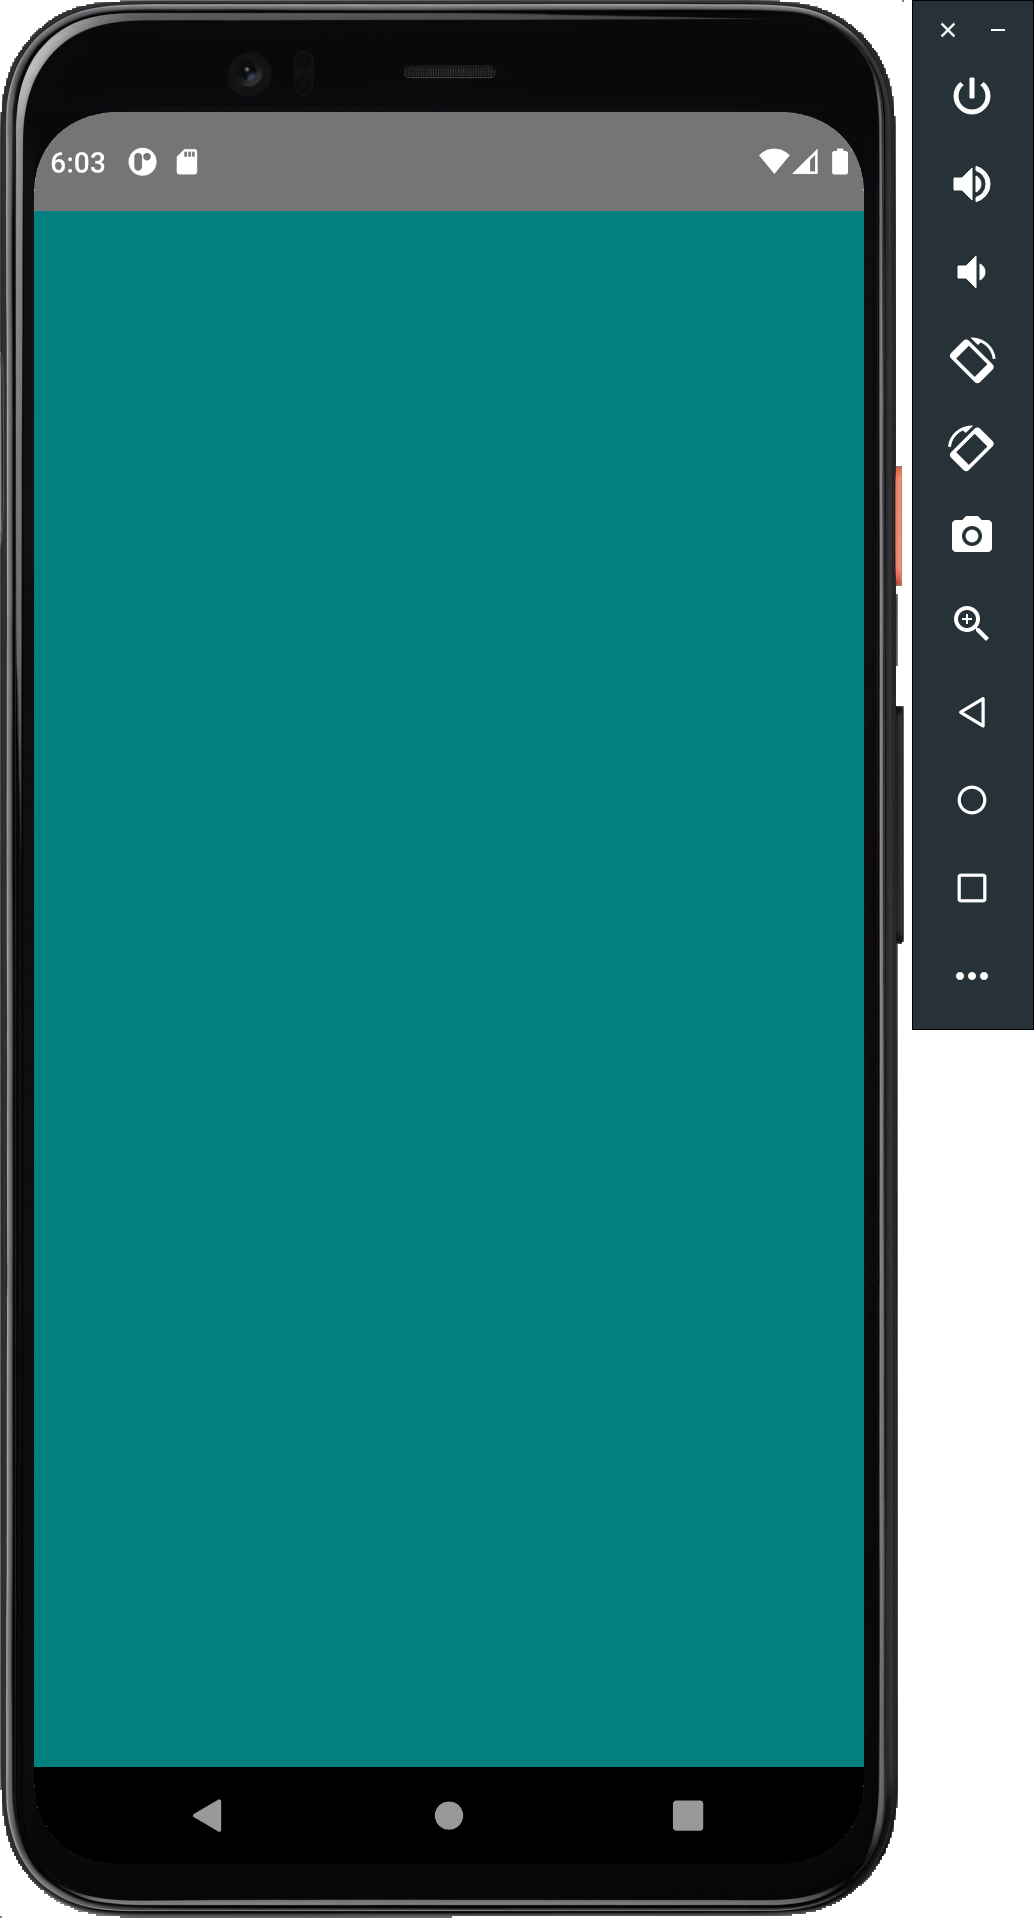
Next, let's move our App.tsx into src and replace the contents of the file to just render a full screen teal background:
import React from 'react';import { StyleSheet, View } from 'react-native';
export const App: React.FC = () => {  return <View style={styles.container} />;};
const styles = StyleSheet.create({ container: { flex: 1, backgroundColor: 'teal', },});Update index.js to include the correct import for App
import { AppRegistry } from 'react-native';-import App from './App';+import { App } from './src/App';import { name as appName } from './app.json';
AppRegistry.registerComponent(appName, () => App);


Add a bottom tab navigator#
Next, let's create a screens directory inside src. This is for all of out screens.
In the screens directory, let's create two files for the Home and History tabs:
import React from 'react';import { StyleSheet, View, Text } from 'react-native';
export const Home: React.FC = () => {  return (    <View style={styles.container}>      <Text>Home</Text>    </View>  );};
const styles = StyleSheet.create({ container: { flex: 1, },});import React from 'react';import { StyleSheet, View, Text } from 'react-native';
export const History: React.FC = () => { return ( <View style={styles.container}> <Text>History</Text> </View> );};
const styles = StyleSheet.create({ container: { flex: 1, },});Note that we're calling giving these files a filename with screen.tsx at the end. The tsx is the file extension for TypeScript, and the screen is just a convention to indicate that this is a screen file.
Next, let's create the Bottom Tabs Navigator. Add a new file to the screens directory:
import React from 'react';import { createBottomTabNavigator } from '@react-navigation/bottom-tabs';import { Home } from './Home.screen';import { History } from './History.screen';
const BottomTabs = createBottomTabNavigator();
export const BottomTabsNavigator: React.FC = () => { return ( <BottomTabs.Navigator> <BottomTabs.Screen name="Home" component={Home} /> <BottomTabs.Screen name="History" component={History} /> </BottomTabs.Navigator> );};Now we'll need to wrap this in a navigation container. Open App.tsx and replace the existing by wrapping the BottomTabsNavigator in a NavigationContainer.
import React from 'react';-import { StyleSheet, View } from 'react-native';+import { NavigationContainer } from '@react-navigation/native';+import { BottomTabsNavigator } from './screens/BottomTabs.navigator'; export const App: React.FC = () => {- return <View style={styles.container} />;+ return (+ <NavigationContainer>+ <BottomTabsNavigator />+ </NavigationContainer>+ ); };--const styles = StyleSheet.create({- container: {- flex: 1,- backgroundColor: 'teal',- },-});
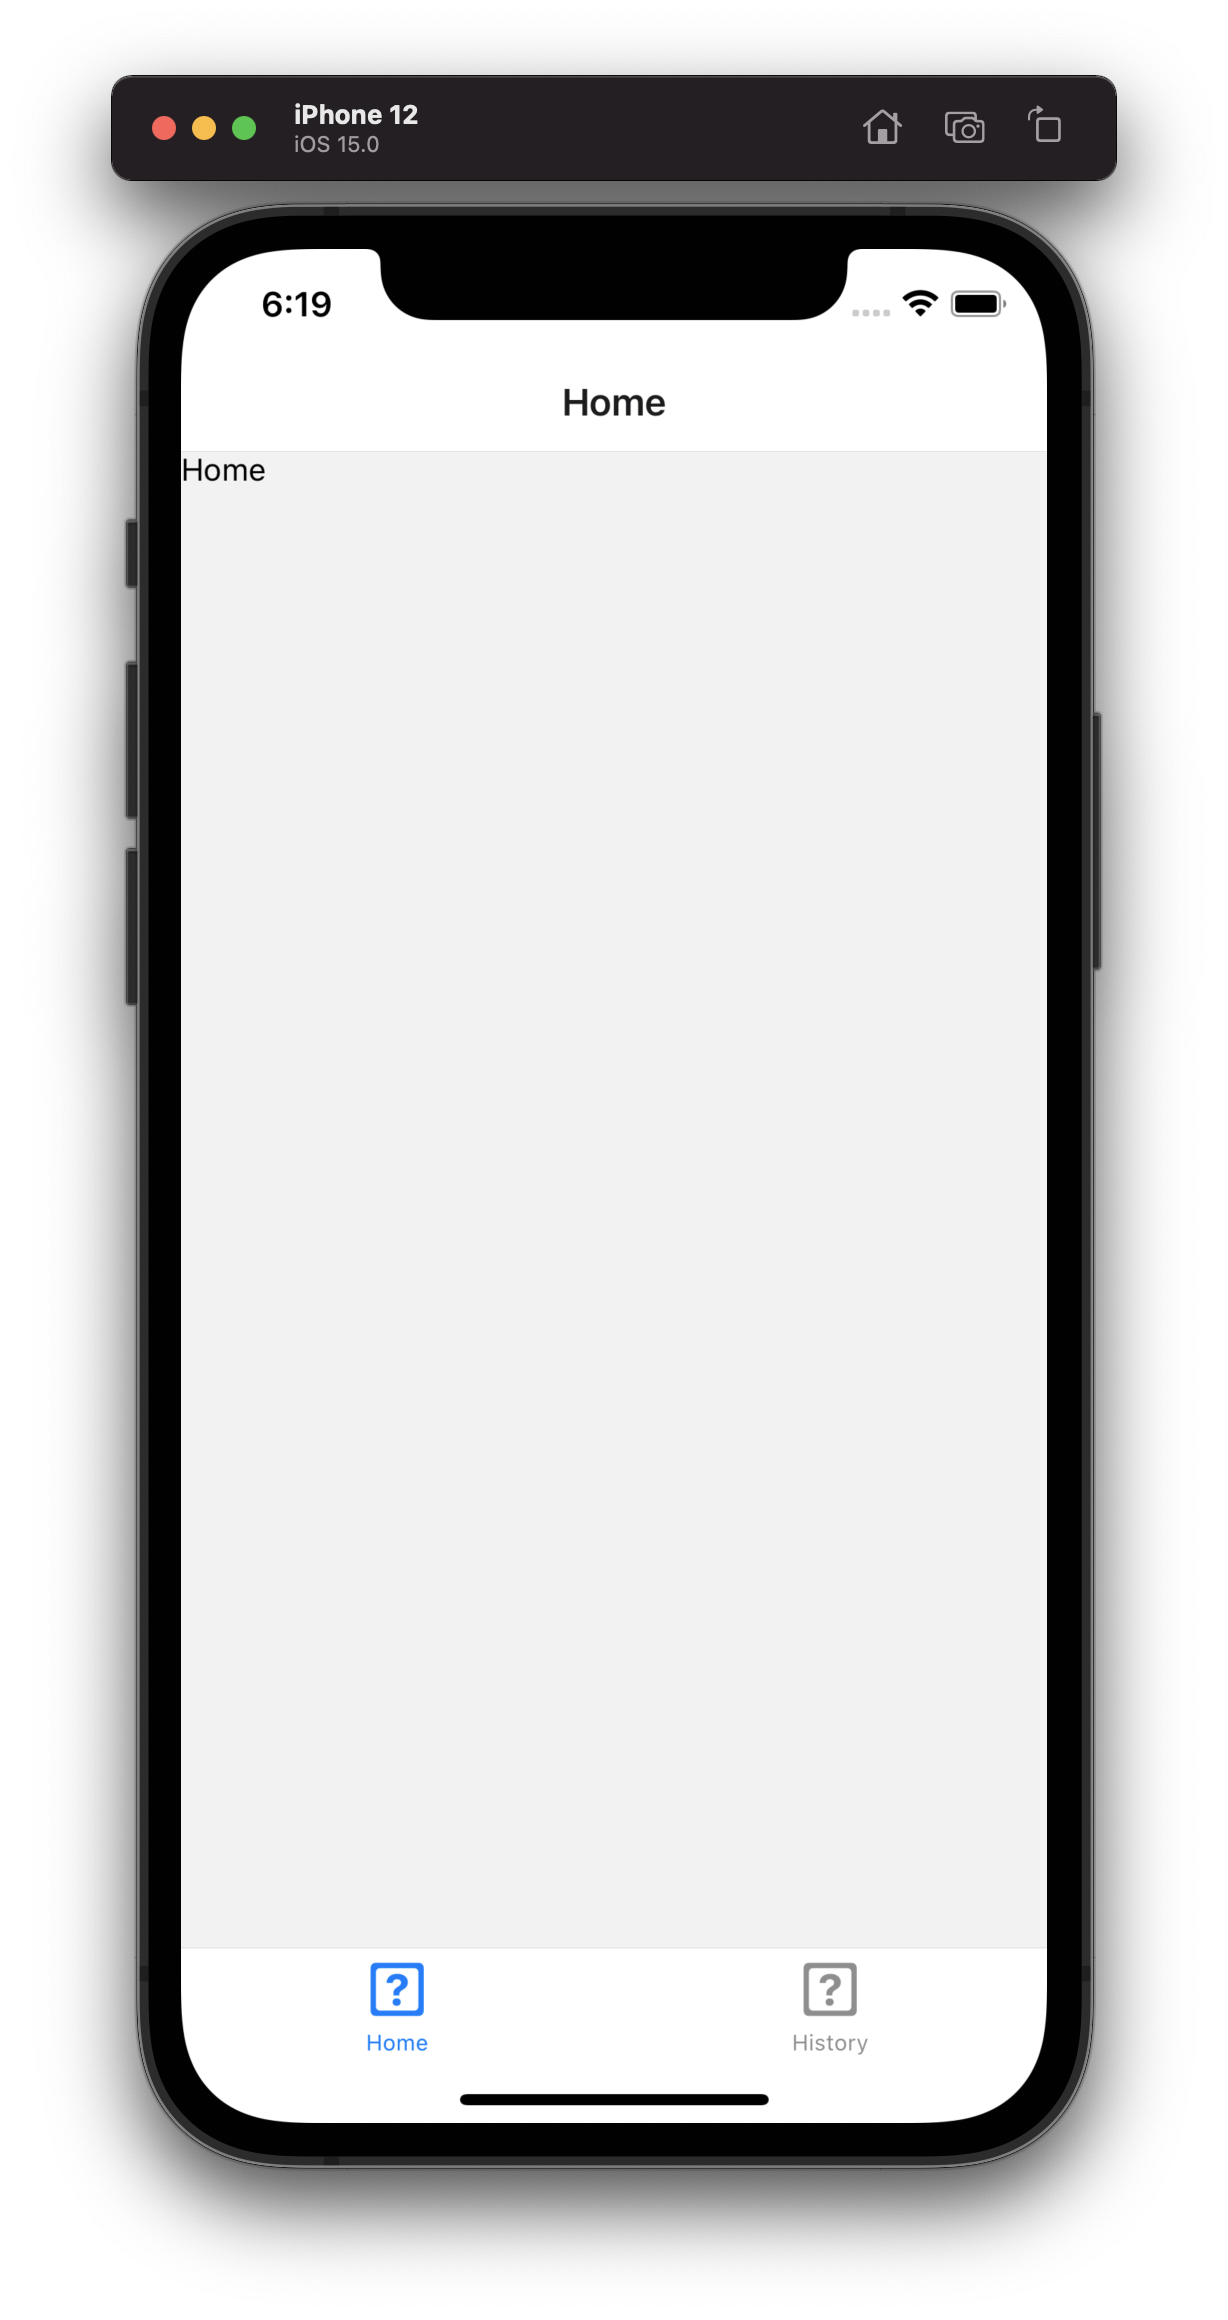
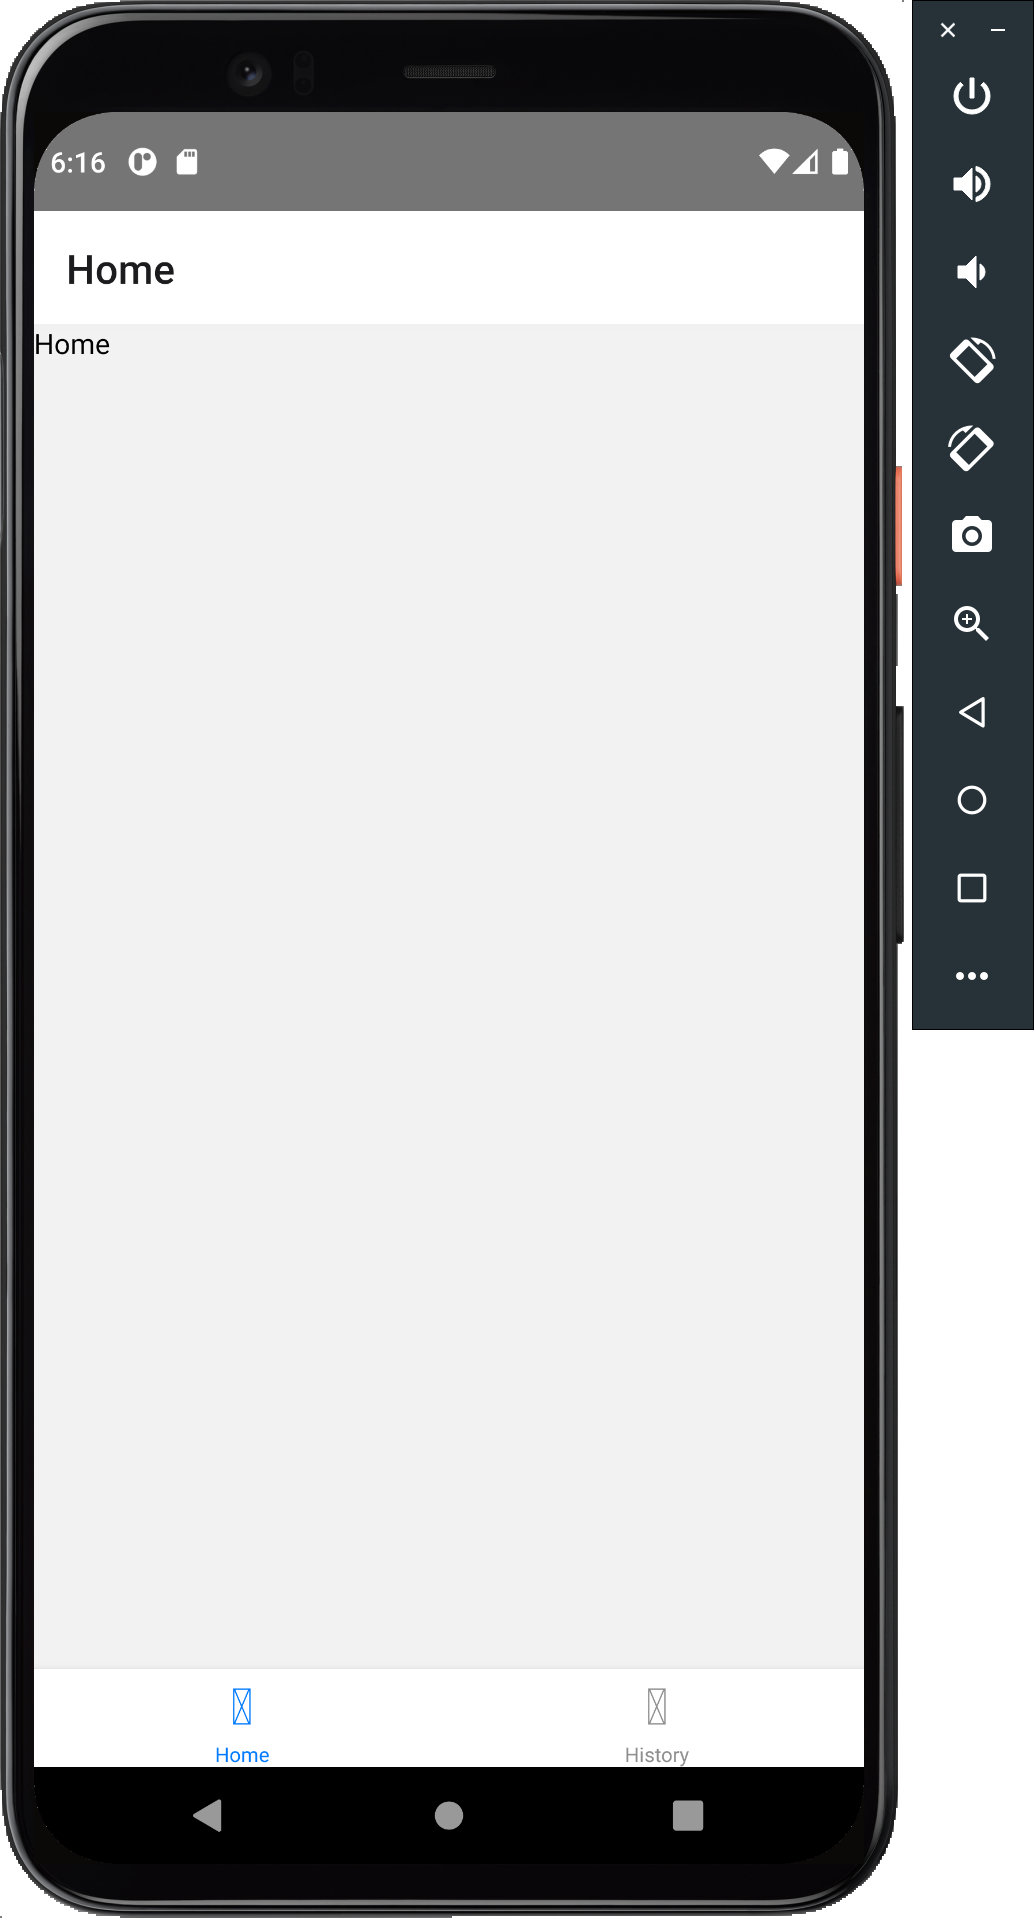
You should now have a two tab layout with a Home and a History tab.

