Bottom tab navigation
The bottom tabs navigation means rendering the screens (or stacks of screens!) as bottom tabs where the tabs are always visible so you can easily switch between them.
Use a tab navigator
With Expo Router, it's actually delightfully easy to set this up: simply change the Stack in your layout file to Tabs.
Update: app/_layout.tsx
@@ -1,17 +1,11 @@
-import { Stack } from "expo-router";
+import { Tabs } from "expo-router";

 export default function Layout() {
   return (
-    <Stack>
-      <Stack.Screen name="index" options={{ title: "Shopping list" }} />
-      <Stack.Screen
-        name="counter"
-        options={{ title: "Counter", presentation: "modal" }}
-      />
-      <Stack.Screen
-        name="idea"
-        options={{ title: "My idea", presentation: "modal" }}
-      />
-    </Stack>
+    <Tabs>
+      <Tabs.Screen name="index" options={{ title: "Shopping list" }} />
+      <Tabs.Screen name="counter" options={{ title: "Counter" }} />
+      <Tabs.Screen name="idea" options={{ title: "My idea" }} />
+    </Tabs>
   );
 }
Remove the Link and useRouter navigation
Verify that you can still navigate between the screens using Link and useRouter, but now that we have bottom tabs, we can use those to navigate and we don't really need this so let's also remove that code.
Update: app/counter.tsx
@@ -1,16 +1,8 @@
-import { useRouter } from "expo-router";
-import { Text, View, StyleSheet, TouchableOpacity } from "react-native";
+import { Text, View, StyleSheet } from "react-native";

 export default function CounterScreen() {
-  const router = useRouter();
-
   return (
     <View style={styles.container}>
-      <TouchableOpacity onPress={() => router.navigate("/idea")}>
-        <Text style={{ textAlign: "center", marginBottom: 18, fontSize: 24 }}>
-          Go to /idea
-        </Text>
-      </TouchableOpacity>
       <Text style={styles.text}>Counter</Text>
     </View>
   );
Update: app/index.tsx
@@ -1,17 +1,10 @@
 import { StyleSheet, View } from "react-native";
 import { theme } from "../theme";
 import { ShoppingListItem } from "../components/ShoppingListItem";
-import { Link } from "expo-router";

 export default function App() {
   return (
     <View style={styles.container}>
-      <Link
-        href="/counter"
-        style={{ textAlign: "center", marginBottom: 18, fontSize: 24 }}
-      >
-        Go to /counter
-      </Link>
       <ShoppingListItem name="Coffee" />
       <ShoppingListItem name="Tea" isCompleted />
       <ShoppingListItem name="Milk" isCompleted />
Choose icons for the bottom tabs
By default we get some placeholder icons on the bottom tabs. Let's choose something more appropriate from @expo/vector-icons.
Update: app/_layout.tsx
@@ -1,11 +1,39 @@
 import { Tabs } from "expo-router";
+import Feather from "@expo/vector-icons/Feather";
+import FontAwesome5 from "@expo/vector-icons/FontAwesome5";
+import AntDesign from "@expo/vector-icons/AntDesign";
+import { theme } from "../theme";

 export default function Layout() {
   return (
-    <Tabs>
-      <Tabs.Screen name="index" options={{ title: "Shopping list" }} />
-      <Tabs.Screen name="counter" options={{ title: "Counter" }} />
-      <Tabs.Screen name="idea" options={{ title: "My idea" }} />
+    <Tabs screenOptions={{ tabBarActiveTintColor: theme.colorCerulean }}>
+      <Tabs.Screen
+        name="index"
+        options={{
+          title: "Shopping list",
+          tabBarIcon: ({ color, size }) => (
+            <Feather name="list" size={size} color={color} />
+          ),
+        }}
+      />
+      <Tabs.Screen
+        name="counter"
+        options={{
+          title: "Counter",
+          tabBarIcon: ({ color, size }) => (
+            <AntDesign name="clock-circle" size={size} color={color} />
+          ),
+        }}
+      />
+      <Tabs.Screen
+        name="idea"
+        options={{
+          title: "My idea",
+          tabBarIcon: ({ color, size }) => (
+            <FontAwesome5 name="lightbulb" size={size} color={color} />
+          ),
+        }}
+      />
     </Tabs>
   );
 }
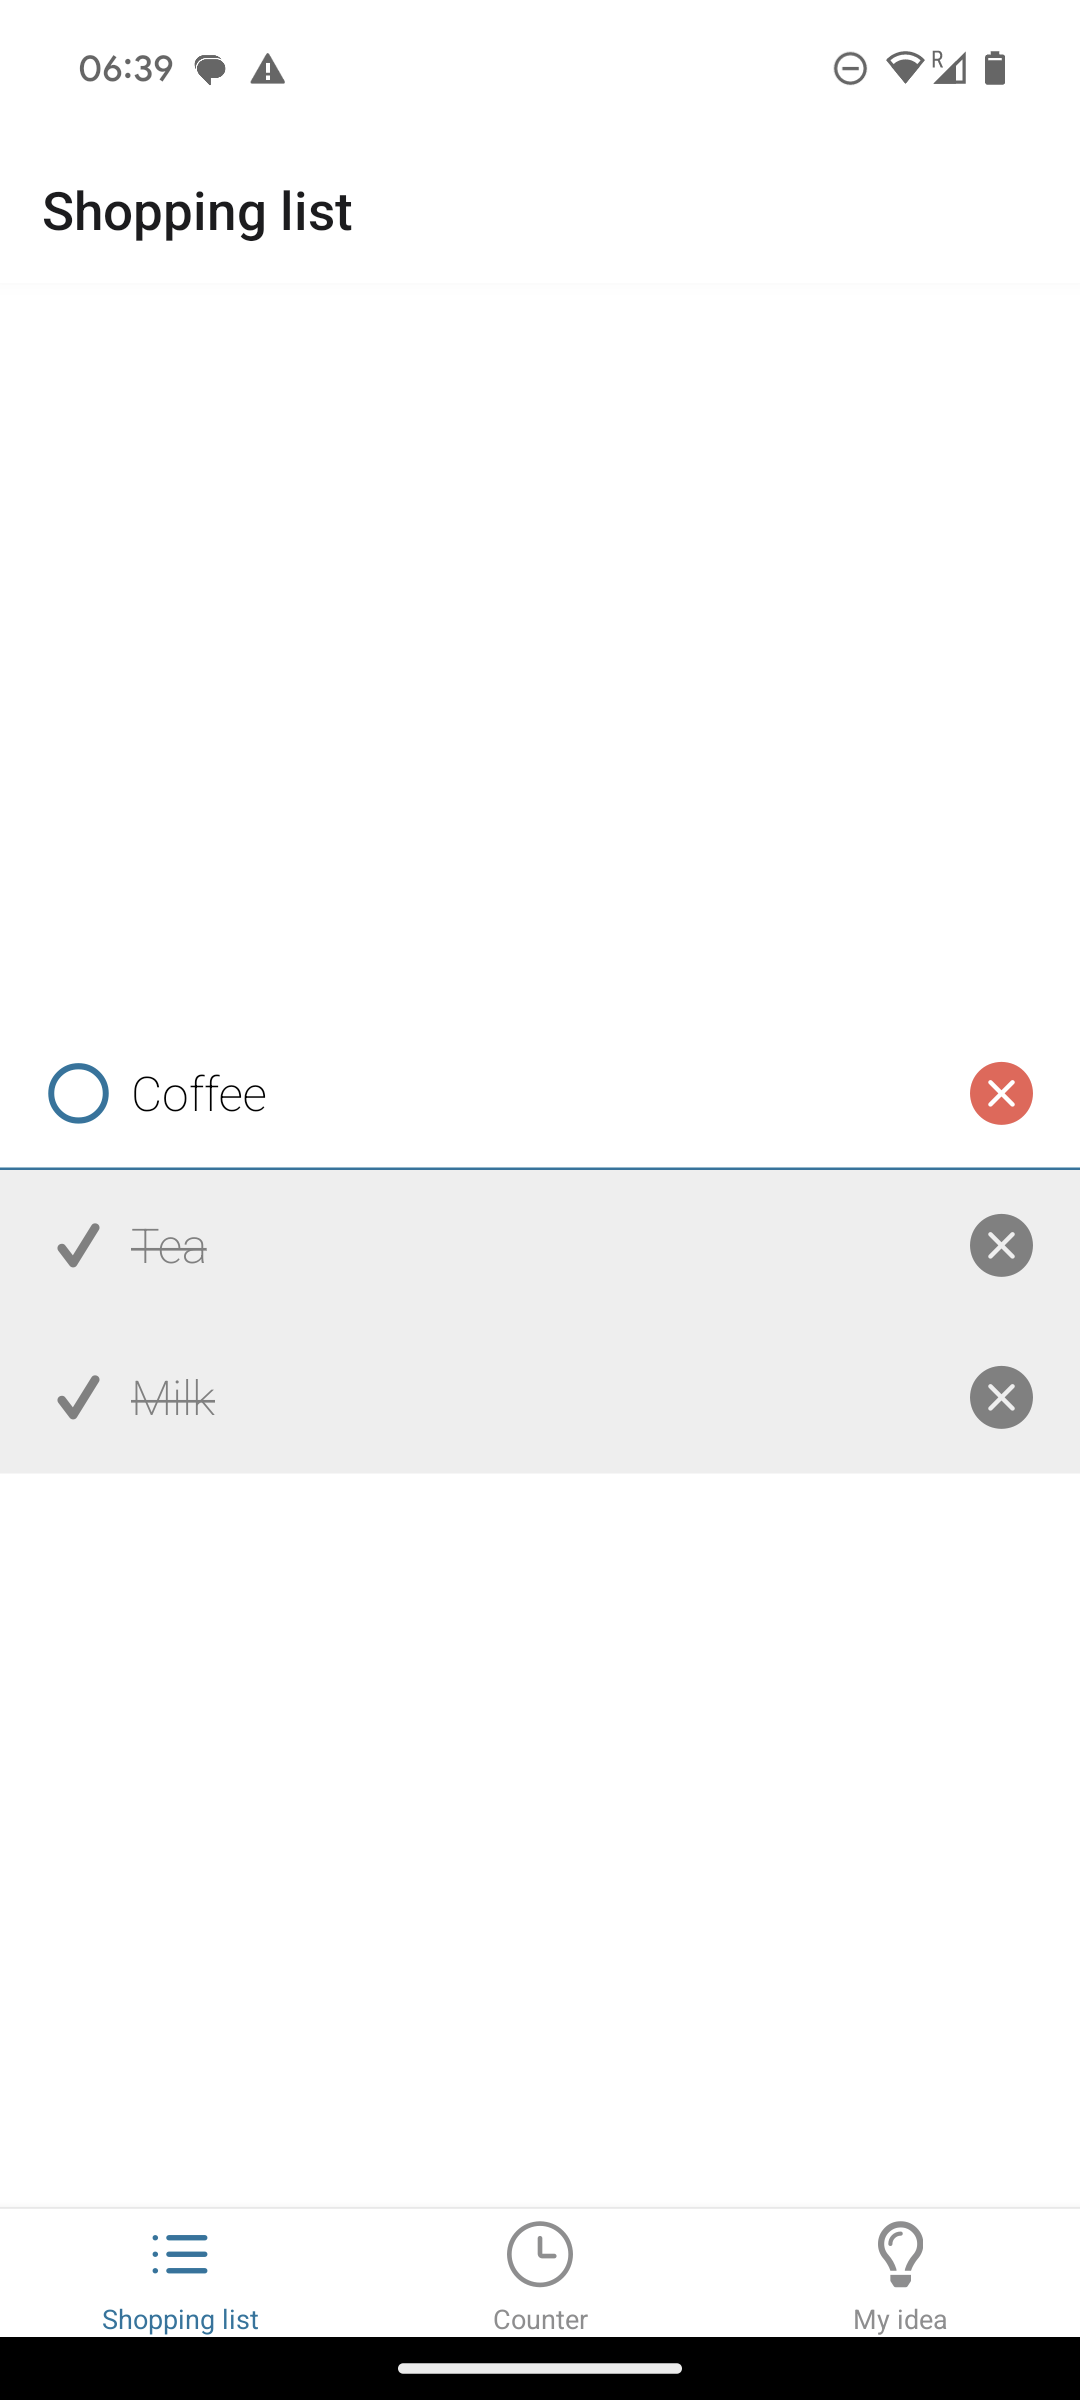
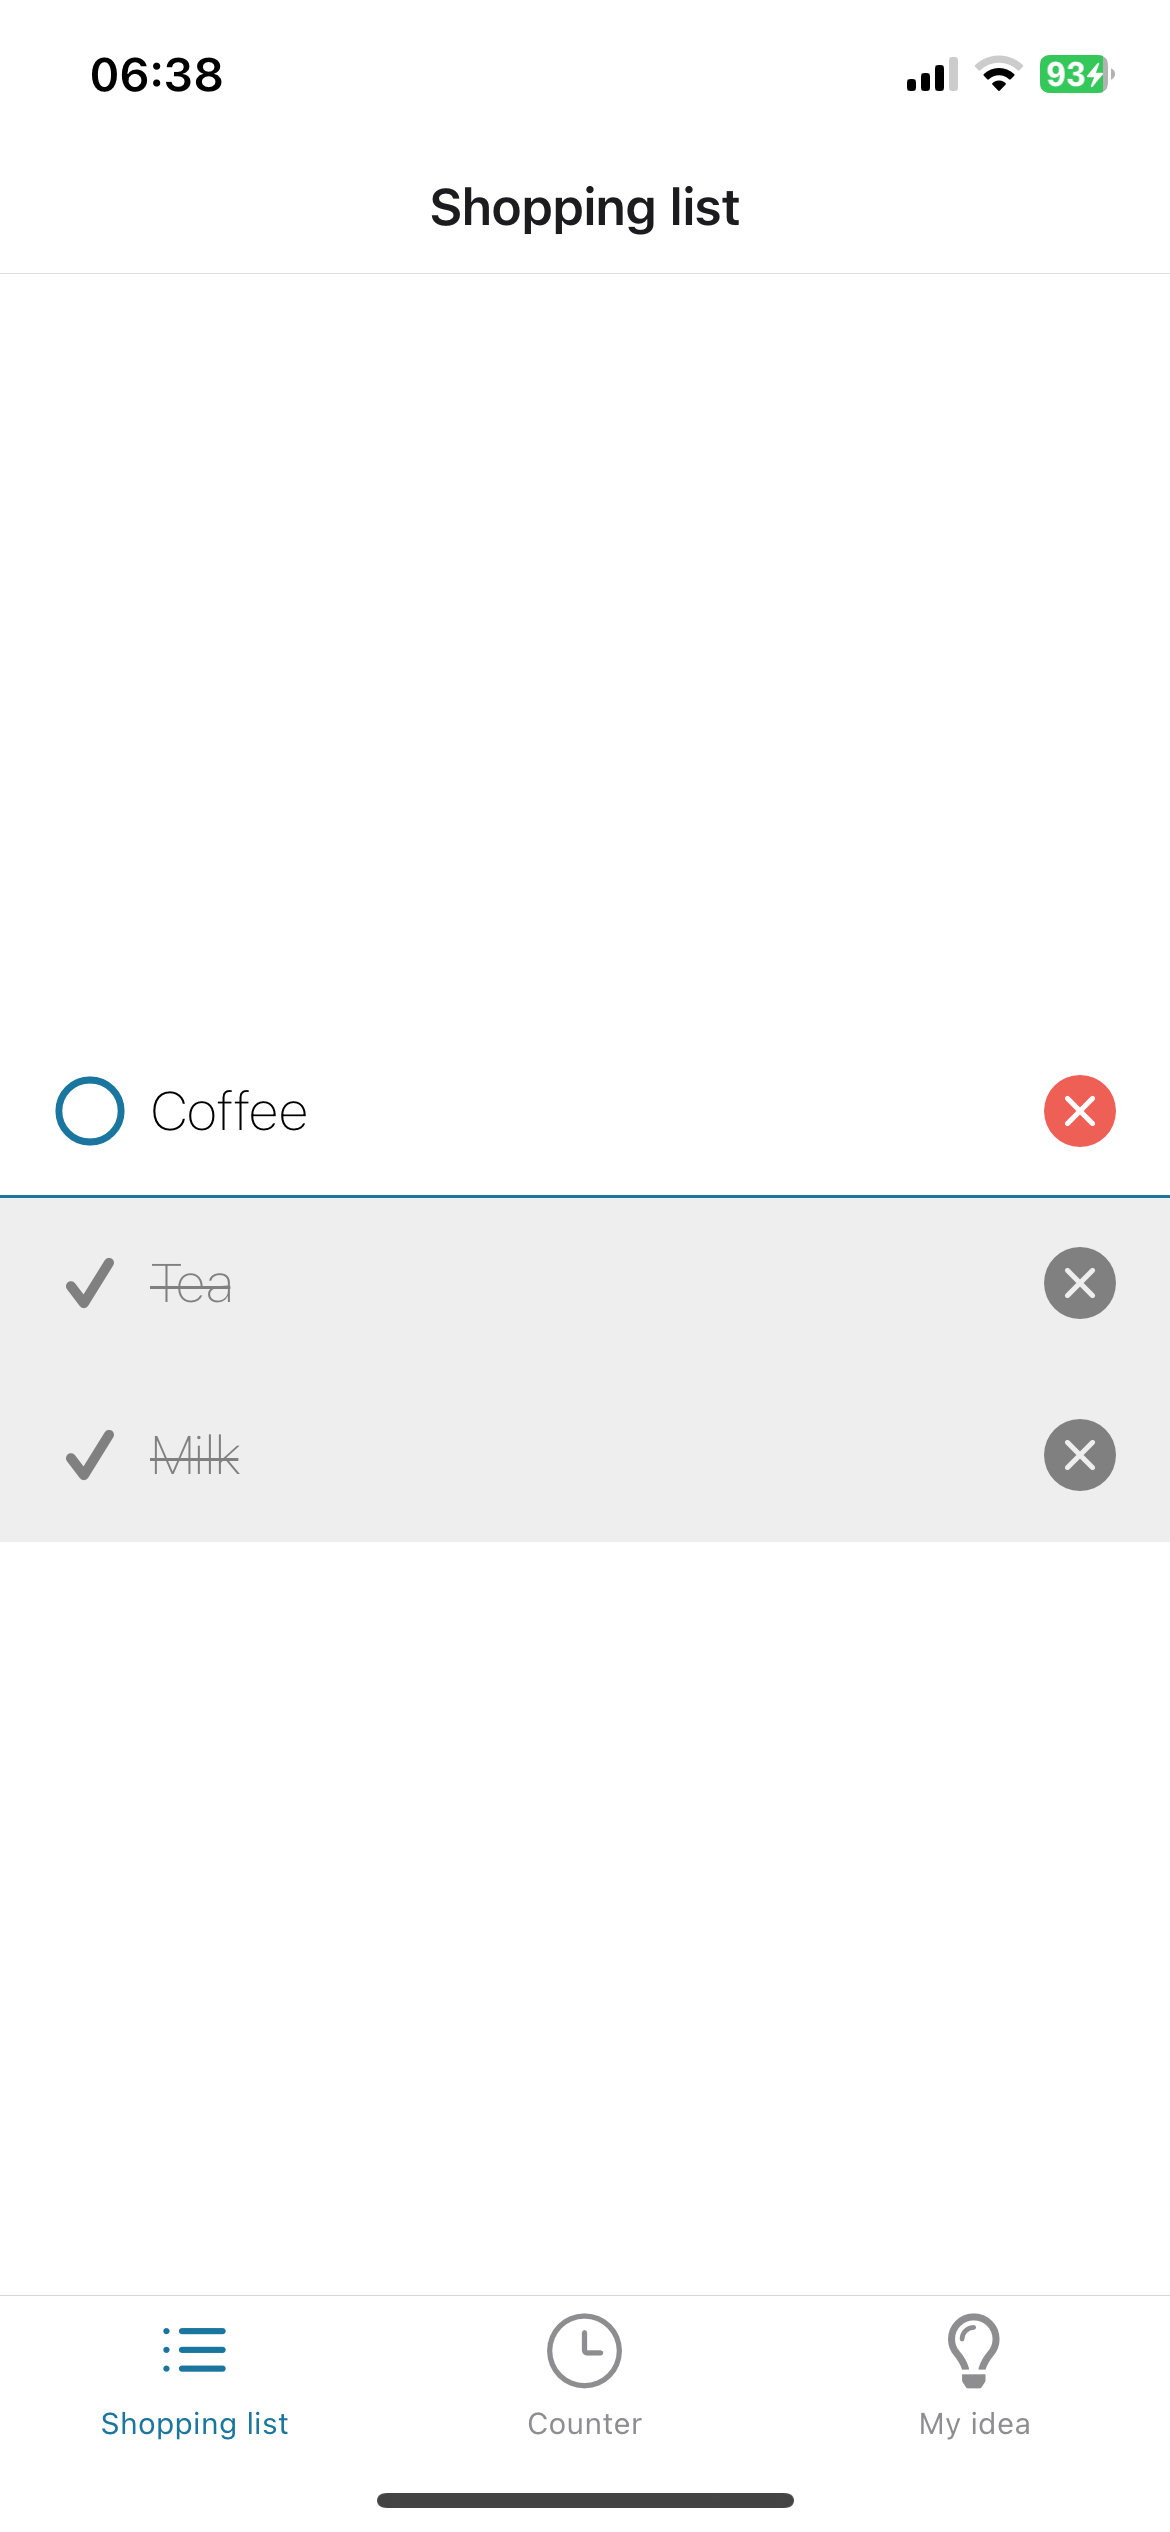
Make sure you use the color and size props passed into tabBarIcon to have Expo Router handle the active and inactive colors for the tabs.
You can configure the tint color globally by setting the tabBarActiveTintColor on the screenOptions of the containing Tabs.
Checkpoint
| Android | iOS |
|---|---|
 |  |