Install a navigation library
As mentioned before, React Native does not come with navigation library built in, so we'll need to install one. We will be using Expo Router. It's a file-system based navigation library, built on top of React Navigation.
I'm mentioning that it's built on top of React Navigation because when you're looking for documentation for things like screen options, hooks, styling props, then it's often useful to refer to the React Navigation documentation.
If you've used web frameworks like Next.js you're already familiar with file-system based routing. The idea is that the files in your file system dictate the urls for the pages, so e.g.
/app
  index.tsx            -> /
  home.tsx             -> /home
  /products
    index.tsx          -> /products
    [productId].tsx    -> /products/123
The filename-to-URL mapping is more obvious on the web. Making it work for mobile has some additional difficulties because we have different types of navigation patterns:
- Stack
- Modal
- Tabs
The key to making it work is _layout routes. Each folder may have exactly one layout route and it will dictate how the files in the route get laid out.
Side note: we started with a totally plain app on purpose so we could incrementally add and talk through everything. Also to make this course more future-proof. But if you npx create-expo-app with the default template it'll already have Expo Router and a bunch of other utilities set up and configured.
We'll be following the instructions in the Expo Router getting started docs:
1. Install the libraries:
npx expo install expo-router react-native-safe-area-context react-native-screens expo-linking expo-constants expo-status-bar
2. Set up the entry point
In your package.json change the entry point to "main": "expo-router/entry".
3. Modify project config
Add the scheme to your app.json:
{
  "scheme": "taskly"
}
A scheme is similar to a url that we use to deep link into the app. This is required because expo router comes with built-in deep linking support.
Let's skip web support (but you can set that up separately later if interested), and we already have babel-preset-expo configured.
4. Move existing code
Create an /app folder.
Rename App.tsx -> index.tsx and move it to /app/index.tsx
5. Restart the bundler
Restart the bundler with npx expo start --reset-cache.
Now at this point, if you reload the app it should look exactly the same as before.
Let's finish it off by adding our screen to a stack.
6. Create a _layout file
Create a _layout.tsx file in the same directory as the index file and add a stack layout.
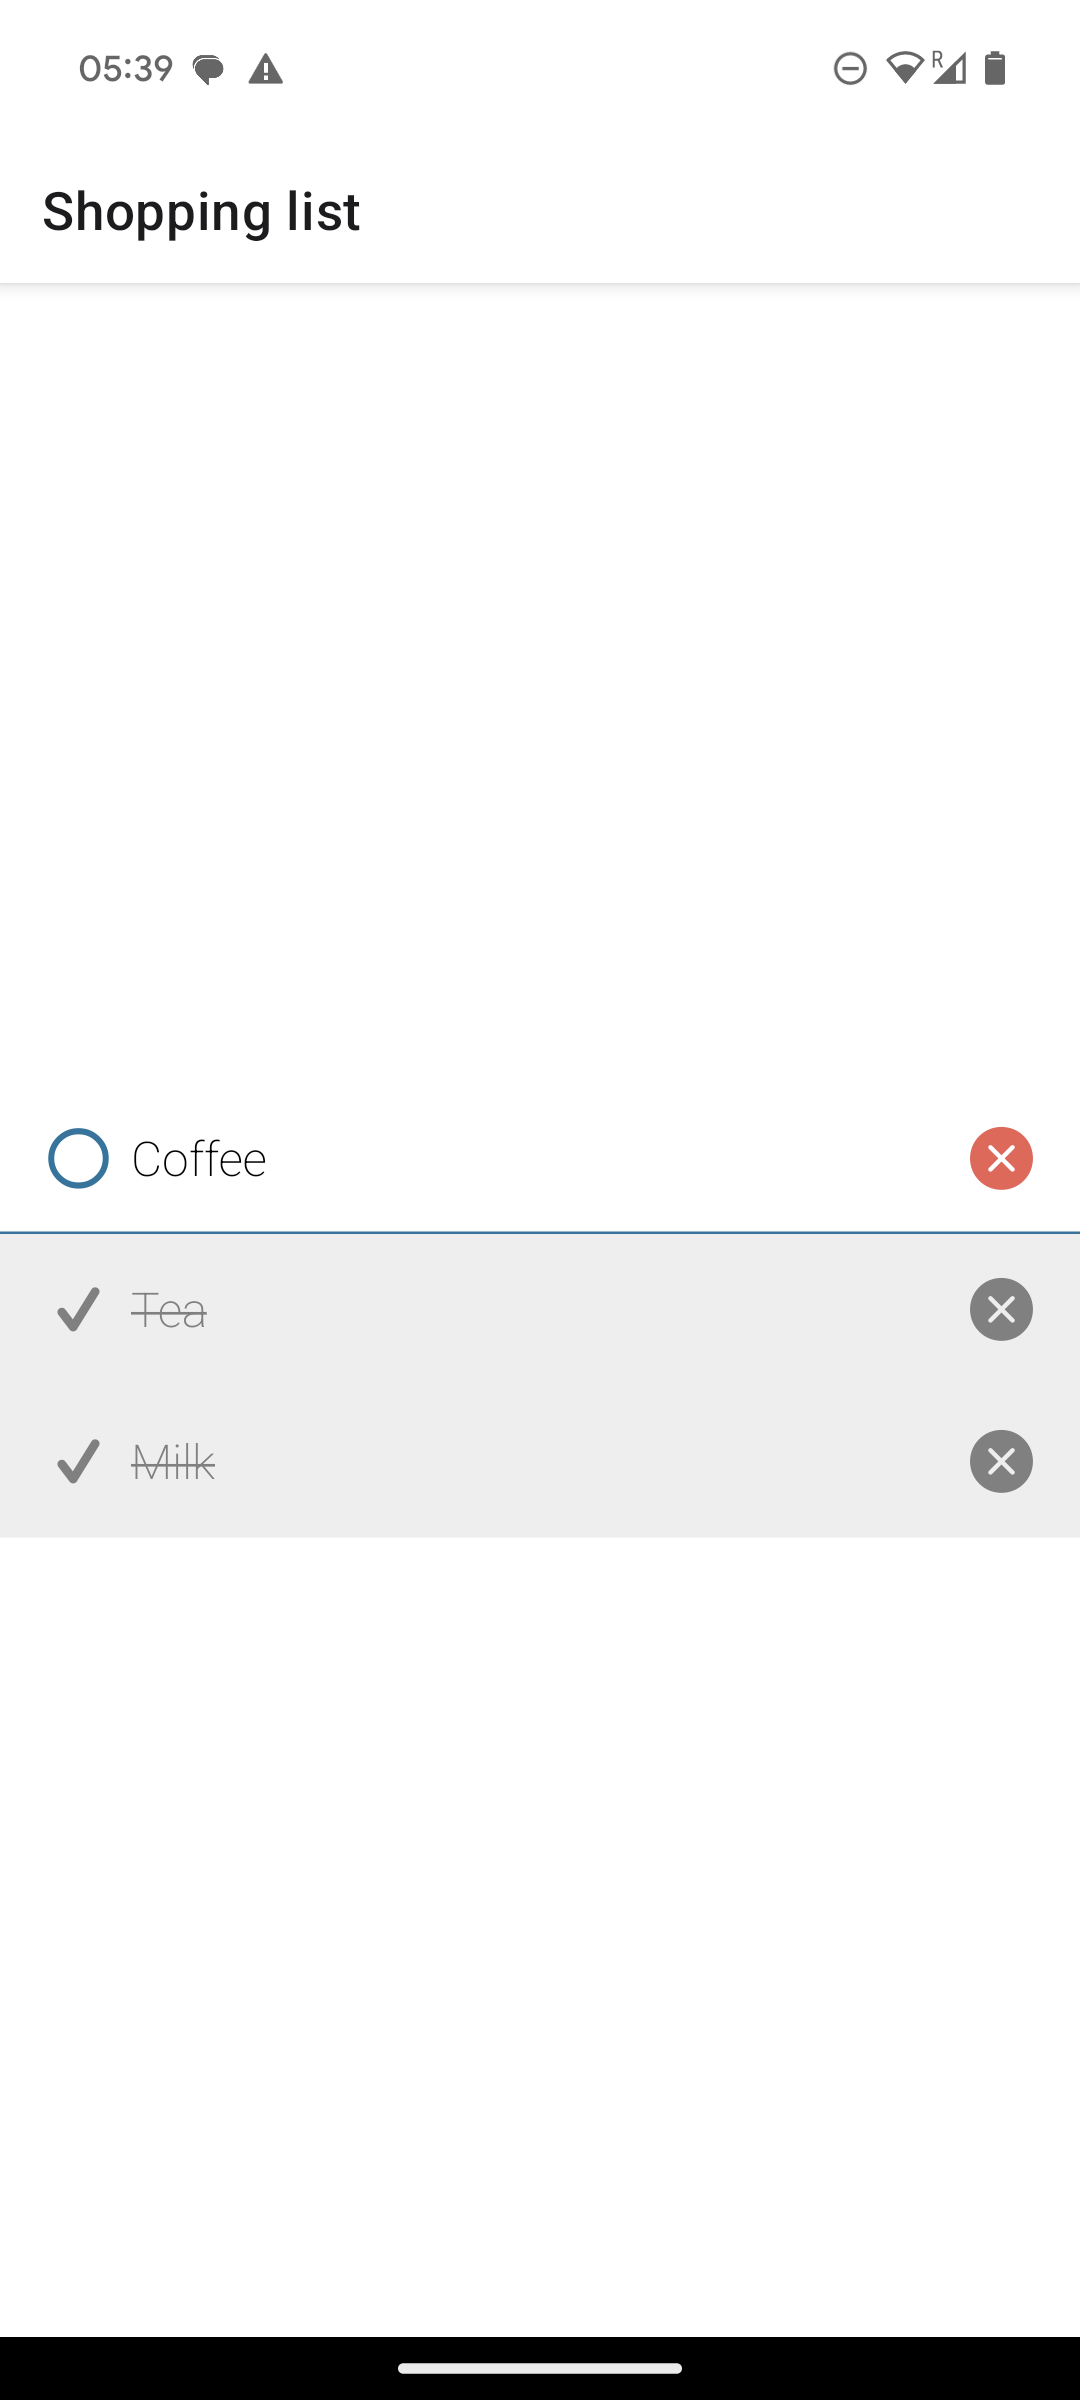
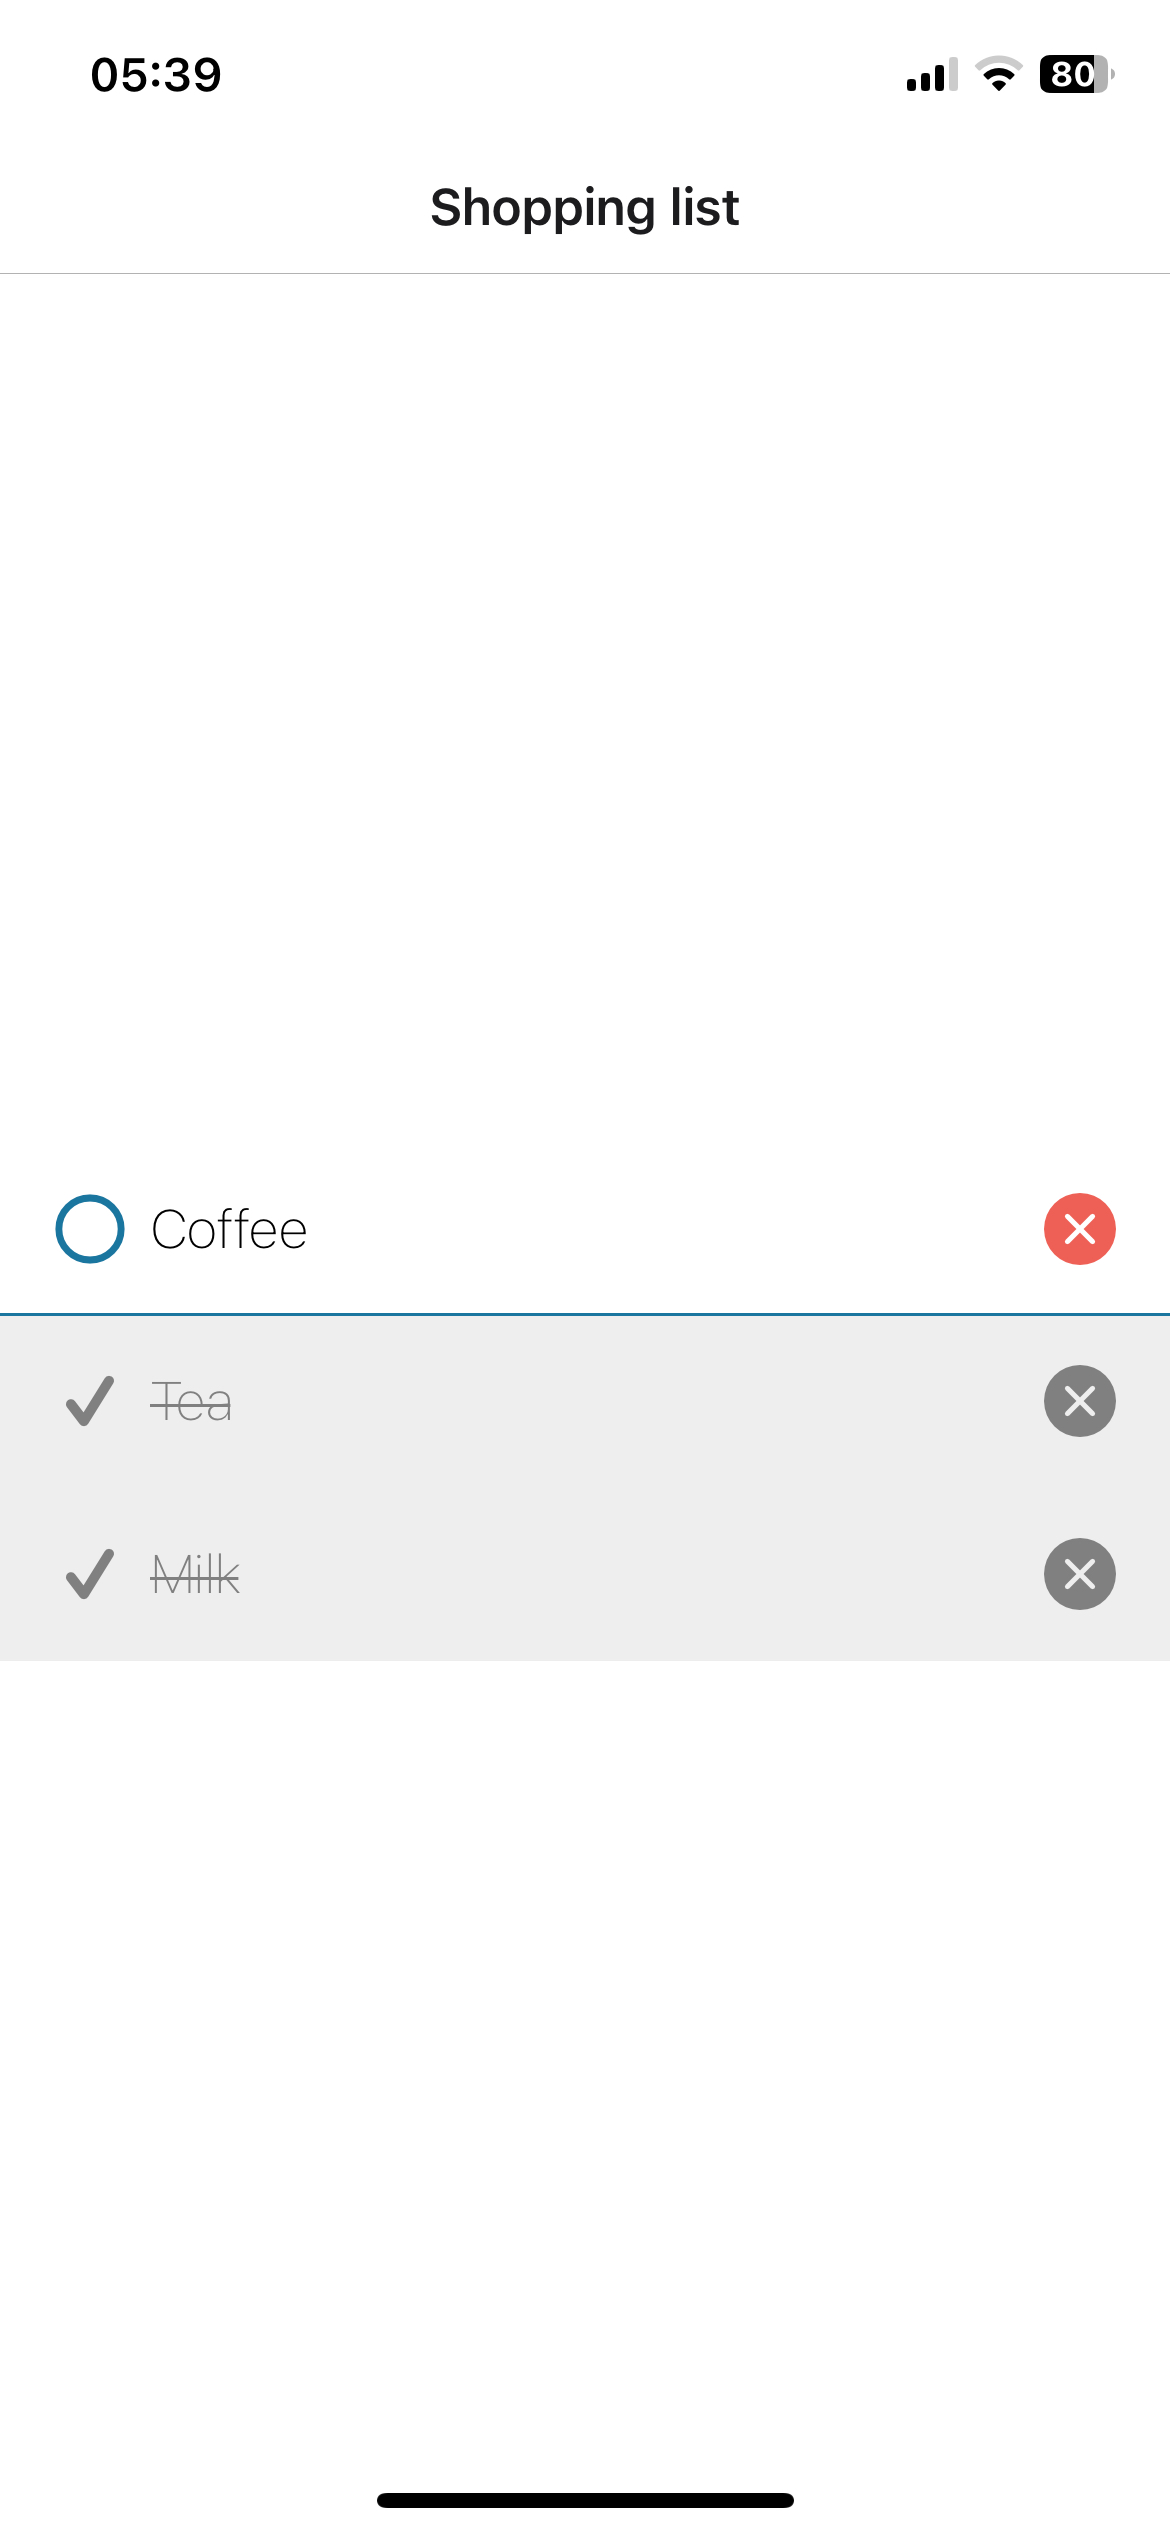
This will add a header using the filename - index - by default, so we'll override with a custom file name.
New file: app/_layout.tsx
import { Stack } from "expo-router";

export default function Layout() {
  return (
    <Stack>
      <Stack.Screen name="index" options={{ title: "Shopping list" }} />
    </Stack>
  );
}
Checkpoint
| Android | iOS |
|---|---|
 |  |
If you're getting an error like PluginError: Failed to resolve plugin for module "expo-router", make sure you've installed the libraries from step 1, closed your existing JavaScript bundler process and restarted it with npx expo start --reset-cache